Smartphone camera tests explained: scores, scenes, and bias
TL;DR:
- A good test mixes lab scenes and real photos.
- DXOMARK v6 scores photo, video, zoom, and preview.
- Look at exposure, color, autofocus, texture, and noise.
- Blind tests show taste bias, not lab quality.
- Use a checklist to compare your phone and keep it fair.
Phone cameras are complex systems. A fair test must isolate what you see in daily use and what a lab can measure. That is why leading labs publish a protocol and sample sets for review.
What DXOMARK measures in 2025
DXOMARK’s Camera v6 focuses on real scenes and tighter HDR checks. It reviews photo, video, zoom, bokeh, and preview. Each area scores exposure, color, autofocus, texture, noise, artifacts, and stabilization. Thousands of frames and hours of video feed both objective metrics and human panels.
What changed in v6
- Stronger HDR tests, so faces do not clip against bright skies.
- Portrait tweaks based on user studies in India, Europe, and China.
- Better video zoom checks.
Reading any camera review like a pro
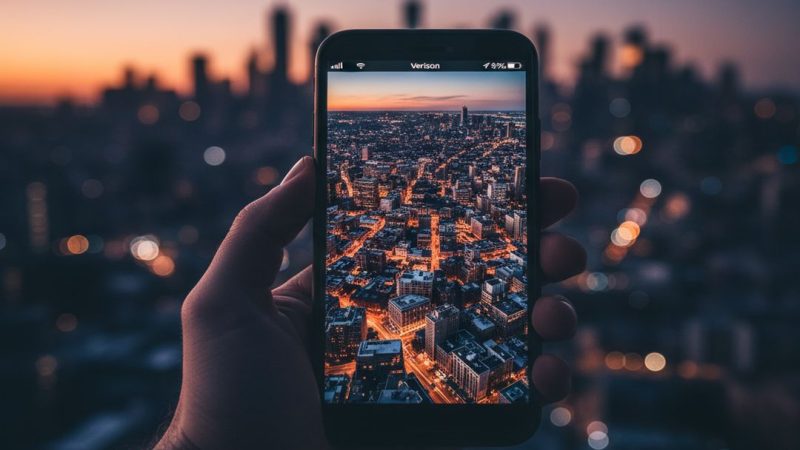
- Find the scenes. Look for daylight, indoor tungsten or LED, and low light. Check motion and skin tones. If a review lacks variety, weigh it less.
- Match your use. If you record concerts, scan for high contrast video with loud audio. For pet photos, check autofocus with motion.
- Zoom with care. Telephoto quality depends on range. Read the score curve, not a single number.
- Preview vs capture. Some phones brighten the live view. v6 scores “what you see is what you get” so framing feels honest.
Blind tests vs lab tests
Blind tests, like the annual community vote videos, show taste. They reward punchy color and bright exposure. They do not replace controlled tests. Use both. Watch for how often over sharpening wins the poll.
Run your own fair mini test
Use this simple, repeatable setup.
Scene 1, backlit portrait. Subject under a tree at noon. Look for skin tone, highlight control, and hair detail.
Scene 2, indoor warm light. Face lit by a lamp. Check white balance and noise.
Scene 3, night street. Moving subject with signs behind. Look for motion blur, flare, and color shifts.
Video clip. Walk and pan. Listen for wind cut and mic balance.
Take each shot with default settings. Tap to focus on the face. Shoot three times to spot variation.
Quick checklist
| Area | What to look for | Common trap |
| Exposure | Face not too dark, sky not blown | Auto HDR can flatten contrast |
| Color | Natural skin tones | Over warm indoor white balance |
| Autofocus | Locks fast, no hunting | Missed focus on moving pets |
| Texture vs noise | Fine detail without sand look | Smearing from heavy noise reduction |
| Stabilization | Smooth walk, no warping | Jello effect on wide lenses |
| Preview honesty | Live view close to final shot | Bright preview, dark saved image |
Why it matters
Scores help, but samples rule. If a review shows strong HDR and stable video in real scenes, that phone will likely serve you better day to day. Mix lab data and blind picks for the full picture.
Sources:
- DXOMARK, Smartphone Camera Protocol v6 explainer, https://www.dxomark.com/dxomark-smartphone-camera-protocol-v6/, 2025-07-01
- DXOMARK, What we measure and how, https://corp.dxomark.com/smartphone-camera/, accessed 2025-10-01
- DXOMARK, Launches Camera v6 news, https://corp.dxomark.com/news/dxomark-launches-camera-v6-a-new-standard-shaped-by-users-and-experts/, 2025-07-02
- The Verge, MKBHD’s blind camera test explainer, https://www.theverge.com/2024/1/8/24031031/more-about-mkbhds-2023-blind-smartphone-camera-test, 2024-01-08